

This is the most popular post on the site, so I thought I would rewrite it and bring it up to date. I’ve also made a video of it, just in case you’re not into reading walls of text.
Update: EA has re-released The Sims and The Sims 2, both tweaked to work on modern computers. If you don’t feel like faffing around with all this, you can get them here https://www.ea.com/games/the-sims/the-sims-25th-anniv-edition
If you’re interested in downloading and playing The Sims Complete Collection, which comprises the original game and the seven expansion packs, it can be downloaded from Archive.org. It’s a download of over 2 GB and takes a while, but it works fine.
If you’d rather stick with the original game, then read on.
A copy of the game and a modified version of sims.exe can be downloaded from here. Download at your own risk. If you have any technical questions, I’m afraid I can’t help you. I’m just the messenger…
If you own a copy of the original game, please use that instead. The only thing you will need is the modified sims.exe file for the final step. That can be downloaded from here
And finally…
Unzip the Sims zip file into a folder on your computer. If you own the original game on CD, copy everything into a folder on your computer.
Right-click on Setup.exe and select Run as Administrator
Install the game.
Once the game installs, navigate to C: Program Files (x86)\Maxis\The Sims
(on older 32-bit computers the game installs into C: Program Files\Maxis\The Sims)
Rename the original sims.exe file to sims(old).exe. This is because we’re about to over-write it with a newer, modified version that’ll enable the game to run on a modern PC with no CD drive

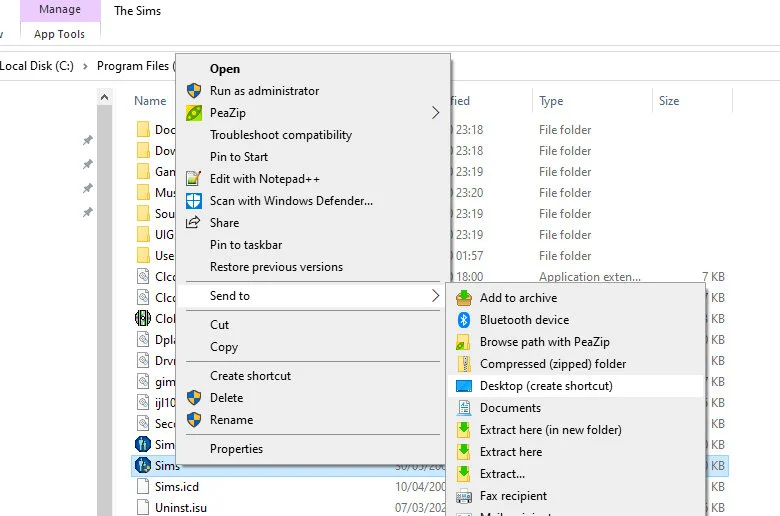
Open a new Windows Explorer window and navigate to where you’ve either downloaded the entire game (look in the Crack folder) or the smaller modified sims.exe file. What you will be doing now is copying sims.exe into C: Program Files (x86)\Maxis\The Sims
With this done, there are only a couple more steps to take. The first one is to copy a shortcut to the computer’s desktop
In Windows 10, it’s simply a matter of right-clicking on Sims.exe and picking Send to/Desktop (create shortcut). In Windows 11, select Show More Options, then Send to Desktop (create shortcut)
Once you’re back on the desktop, right-click on the Sims shortcut you’ve just created and select Properties from the menu

Go to the Compatibility tab and choose an older operating system. Now you’re good to go.
If you find that the version of Windows you’ve chosen doesn’t work, try another.
If you played the original game, you may have used programs such as Sims Art Studio and Sims Homecrafter. None of these are working for me and I’m not going to chase those up to see if they can be made work again. The good news is that there are still lots and lots of custom-made Sims goodies (floors, walls, skins, objects) freely available online.
If the advice here doesn’t work, try the advice given on this site
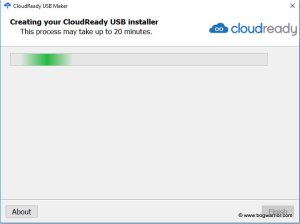


 Click the “Write” button. You will be given a warning which is nothing to worry about unless you’ve got something else apart from the memory card plugged into the computer… After a few minutes, the Win32 Disk Imager will finish installing Retropie onto the memory card. It is now bootable and ready to be popped into the Raspberry Pi.
 Once the Raspberry Pi has been rebooted, bring up Windows Explorer. Type \retropie into the address bar. All going well, a screen like the one above will appear.


